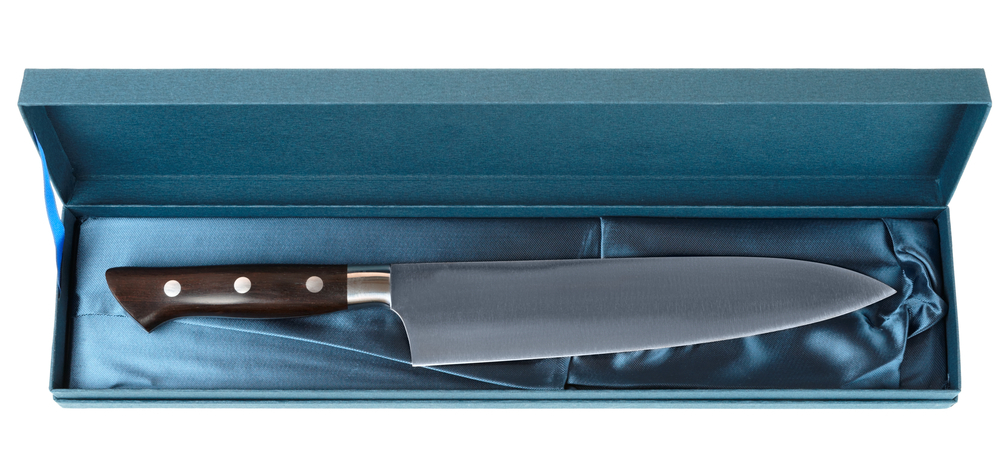
A dull knife is a dangerous knife. It’s more likely to slip and cut you while you’re using it because it doesn’t have a sharp, clean edge. A sharp knife, on the other hand, is much easier and safer to use. It can also make tasks that require a knife much faster and easier, such as cutting vegetables for dinner or opening a package. In this blog post, we’ll show you how to polish a knife so that it has a clean, sharp edge.
What Is Mirror Polishing?
Mirror polishing is a type of knife sharpening that involves using a series of progressively finer grits of sandpaper to remove any imperfections on the blade and create a super-sharp, mirror-like finish. It’s important to note that this method should only be used on high-quality knives with a hard steel blade. For softer steel blades, using a honing rod or sharpening stone is a better option.
When looking for sharper knives, mirror polishing will work well too. It is not terribly hard to learn how to mirror polish a knife and you will be confident in doing that. To be sure that your knives will maintain sharpness, you may consider mirror polishing them. The process will also give your blade more sharpness and a smoother appearance. The method also reduces friction in food chopping and is very efficient.
Guide: How to Polish a Knife?
Before you begin polishing your knife, you’ll need to gather the following supplies:
- A hone (a metal rod with a rough surface)
- A strop (a leather strap)
- A polishing compound (a paste or powder that will help to polish the metal)
- A soft cloth
- A vise or clamp (optional)
Step 1: Hone the Blade
If your knife is very dull, you may need to start by honing the blade. To do this, hold the hone in your non-dominant hand and the blade in your dominant hand. Place the blade against the hone at a 20-degree angle. Then, stroke the blade down the length of the hone away from your body using even pressure. When you reach the end of the stroke, turn the blade over and stroke back up the hone toward your body. Repeat this process 10-15 times on each side of the blade.
Step 2: Stropping the Blade
Once you’ve honed the blade, use a strop to further polish the edge and remove any burrs that might have been formed during honing. To strop the blade, hold it in your dominant hand and the strop in your non-dominant hand. Place the blade against the strop at a 20-degree angle. Then, stroke the blade down the length of the strop away from your body using even pressure. When you reach the end of the stroke turn the blade over and stroke back up the stop toward your body. Repeat this process 10-15times on each side of the blade.
If you don’t have a strop, you can use as of cloth instead. However, you should only stop for about 30strokes on each side since too much stropping can weaken a blade.
Step 3: Applying Polishing Compound
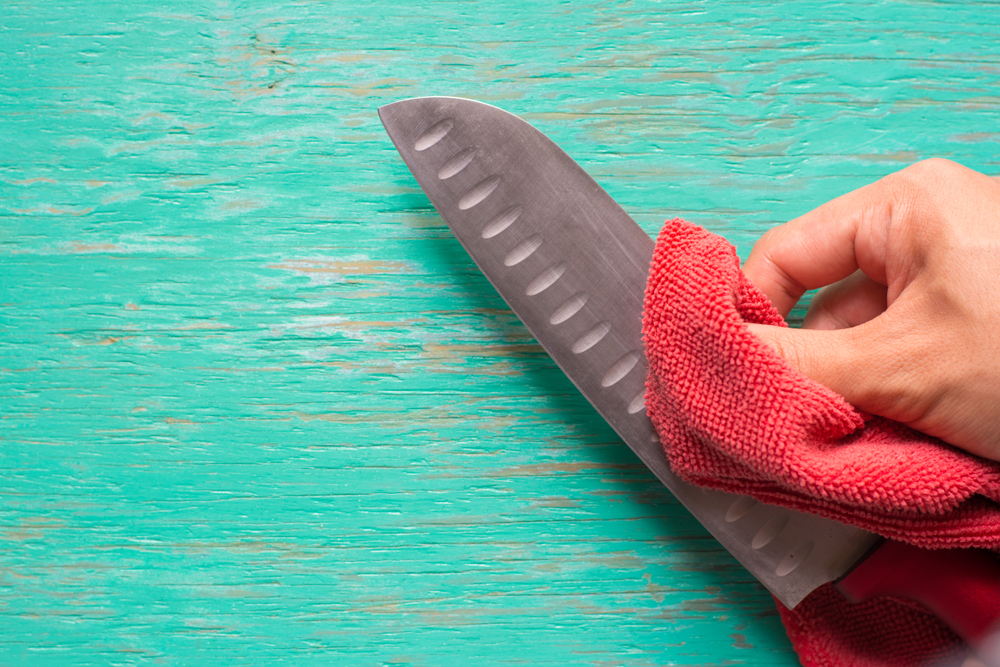
After you’ve honed and stropped your blade, it’s time to apply the polishing compound. First, secure the blade in a vise or clamp so that it’s stable and won’t move while you’re working on it. Next, apply the polishing compound to the blade using your fingers or the cloth. Be generous with the amount of compound you use; you want there to be a thick layer on the blade. Once you’ve applied the compound, take your cloth and rub it in small circles all over the blade until it’s evenly distributed.
Step 4: Buffing the Blade
Once you’ve applied the polishing compound, it’s time to buff the roughness out of the blade. To do this, hold a blade by its handle in one hand while using sandpaper to touch up any areas that might still be rough. If you don’t have sandpaper, you can use a garment made of denim or another type of rough fabric to achieve the same results (but be careful not to scratch yourself in the middle of the process!).
Begin with medium grits and paper combing through all of the layers of roughness until you turn it into a fine powder on the blade; once you think you’re fined enough, grab a piece of newspaper with a sharp edge and work along the entire length of the blade to create a final polish on the knife’s surface.
What if my knife has a special coating?
If your knife has a special coating, such as a Teflon coating, you’ll need to be careful not to damage it during the polishing process. Teflon is a very soft material, so you’ll need to use extra fine sandpaper (2000 grit or higher) and be very gentle when buffing the blade. If you’re not careful, you will damage the coating and ruin your knife.
How to Remove Scratches From a Knife Blade?
- If your knife blade is scratched, you can try to remove the scratches with a buffing compound. Apply the compound to the blade using your fingers or a cloth.
- Then, use a soft cloth to rub the compound into the scratches in a circular motion.
- Once you’ve rubbed the compound into the scratches, use a clean cloth to buff the blade and remove any excess compound.
- Finally, use a piece of newspaper to create a final polish on the knife’s surface.
Conclusion
No matter how well you take care of your knives, the time will come when they need to be polished. It’s important to know how to do it properly so that you don’t damage the blade or make it difficult to use. In this article, we’ve shown you how to polish a knife using a honing stone, strop, and polishing compound. We’ve also provided tips on how to remove scratches from a knife blade and keep your knives in good condition.
Now that you know how to mirror polish a knife, put those skills to use! Not only will it make using a knife safer and easier but it can also help you prep food faster or open packages with ease. And who doesn’t want that?